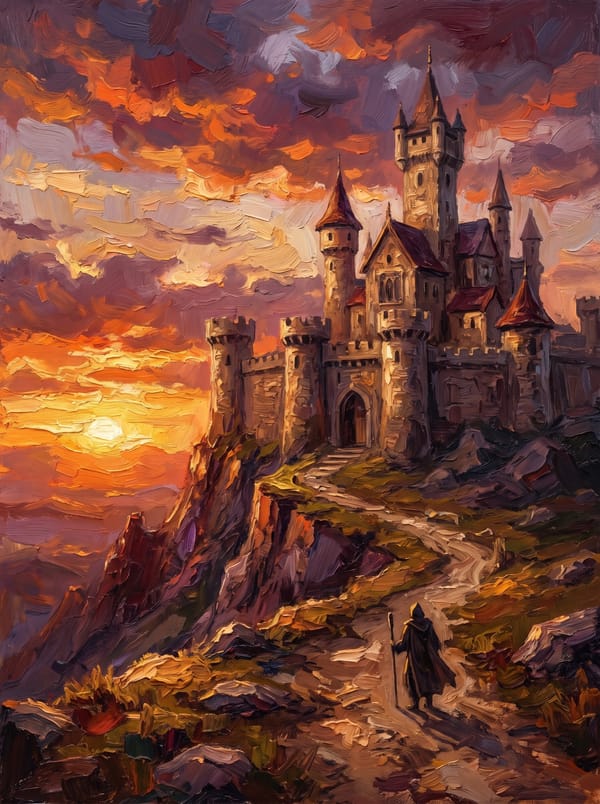
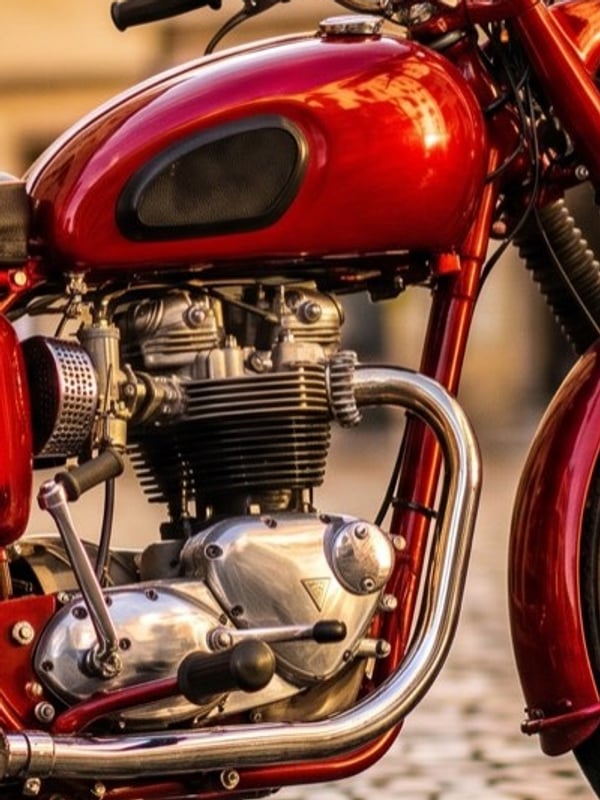
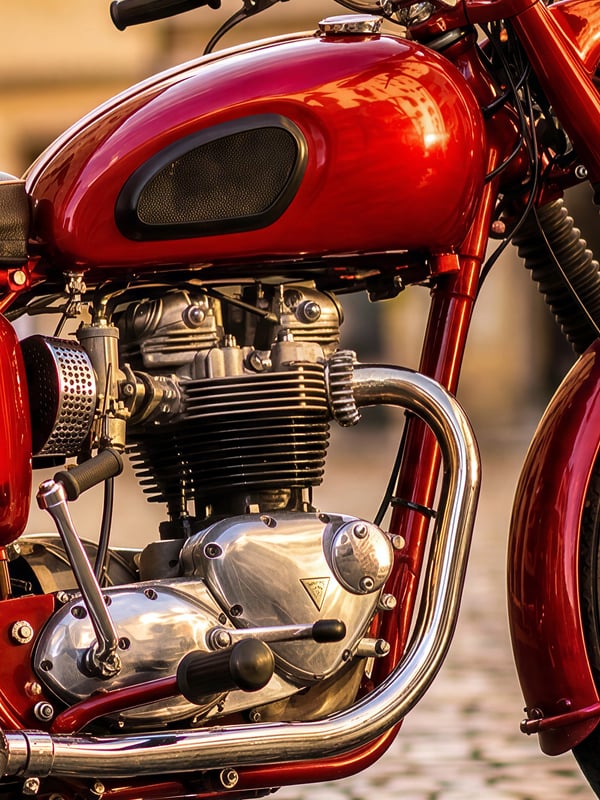
Upscale AI-generated images to 8K for printing, posters, and digital products. Creative mode rebuilds fine textures, so brush strokes and details stay crisp at any size.
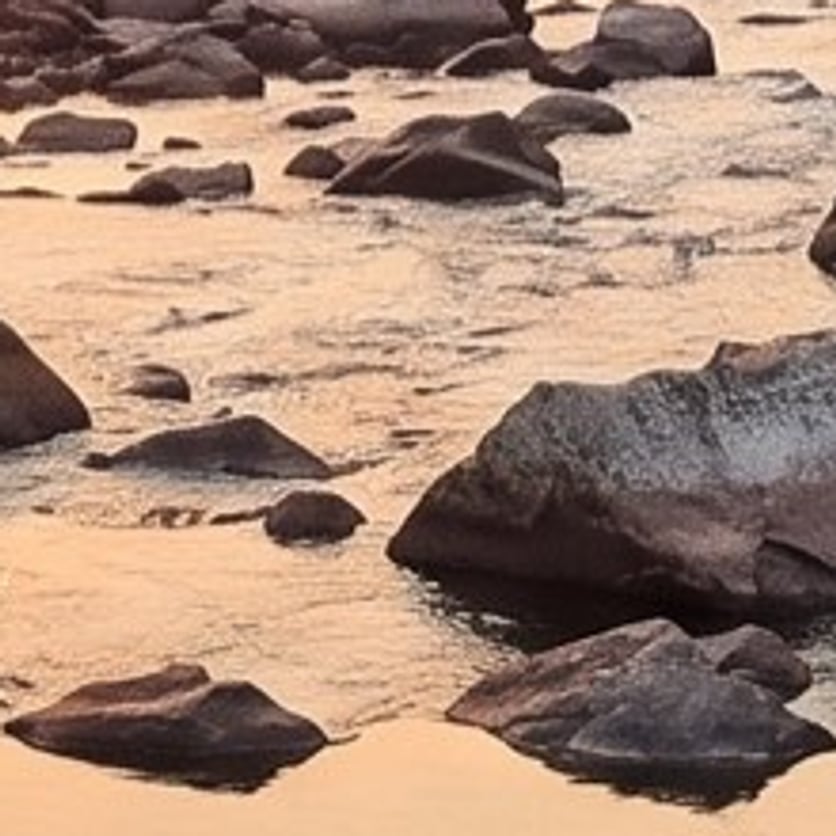
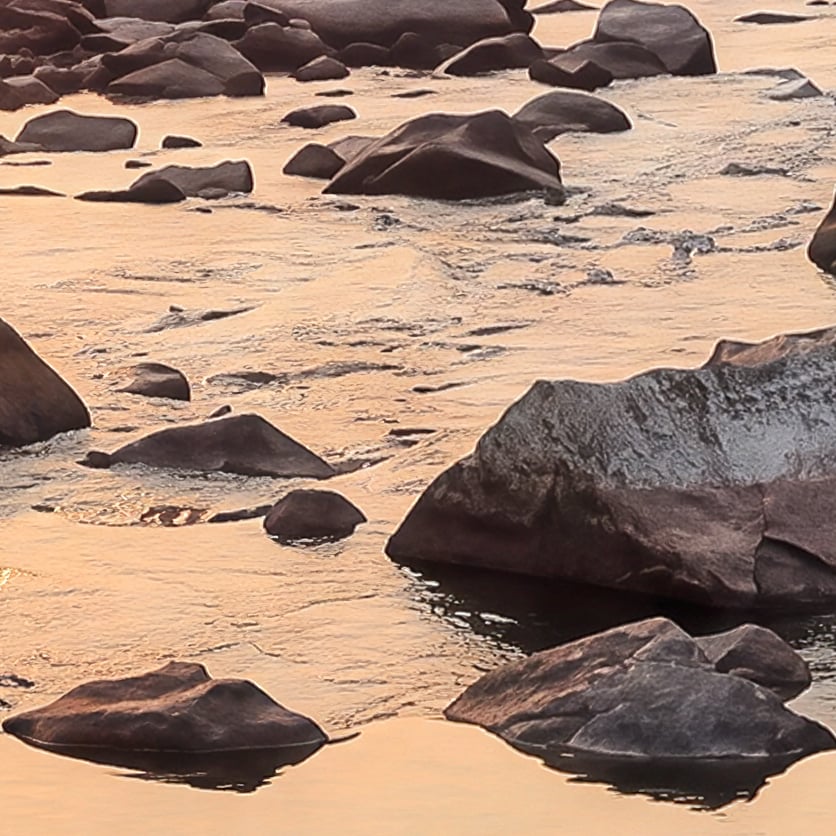
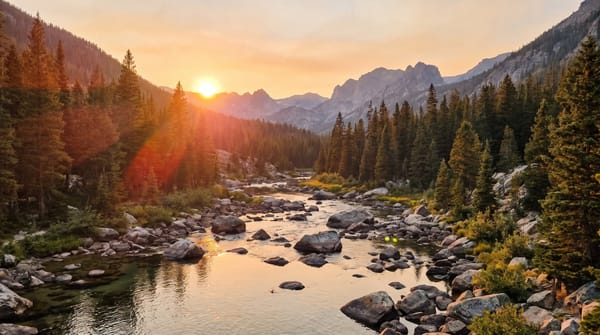
Turn a compressed 2 MP photo into a sharp 33-megapixel image. Enhance mode restores fine detail in foliage, rock, and water – enough resolution for large prints and 8K wallpapers.
BeforeAfter · 4K
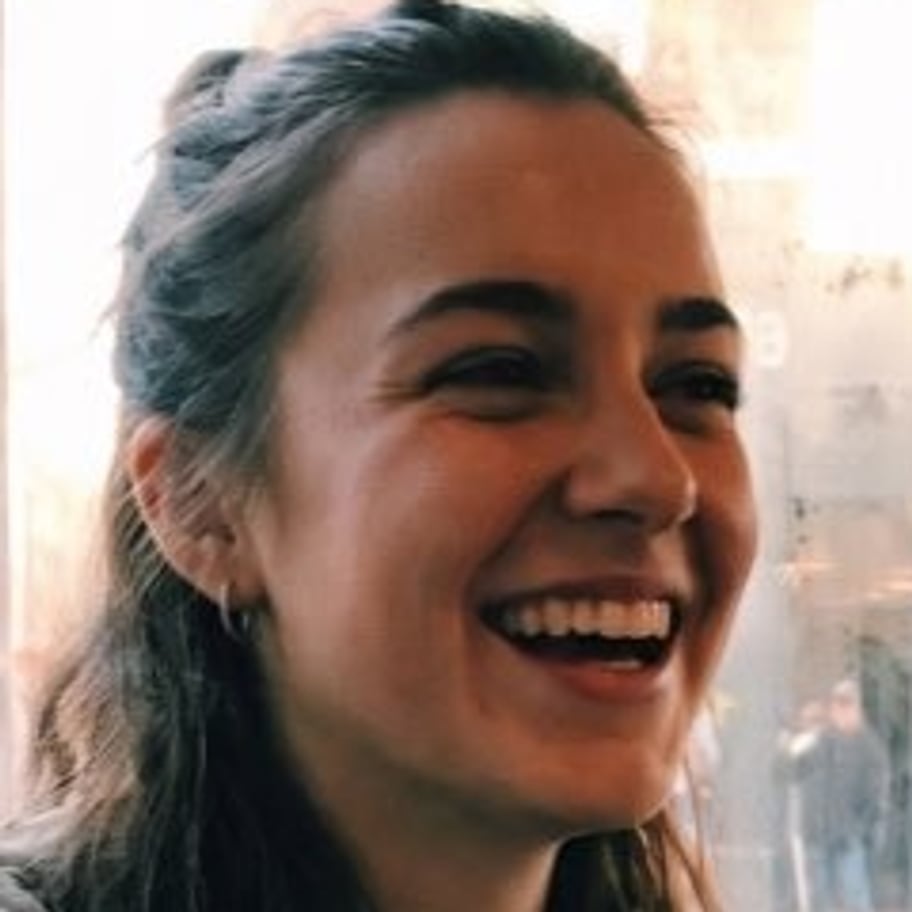
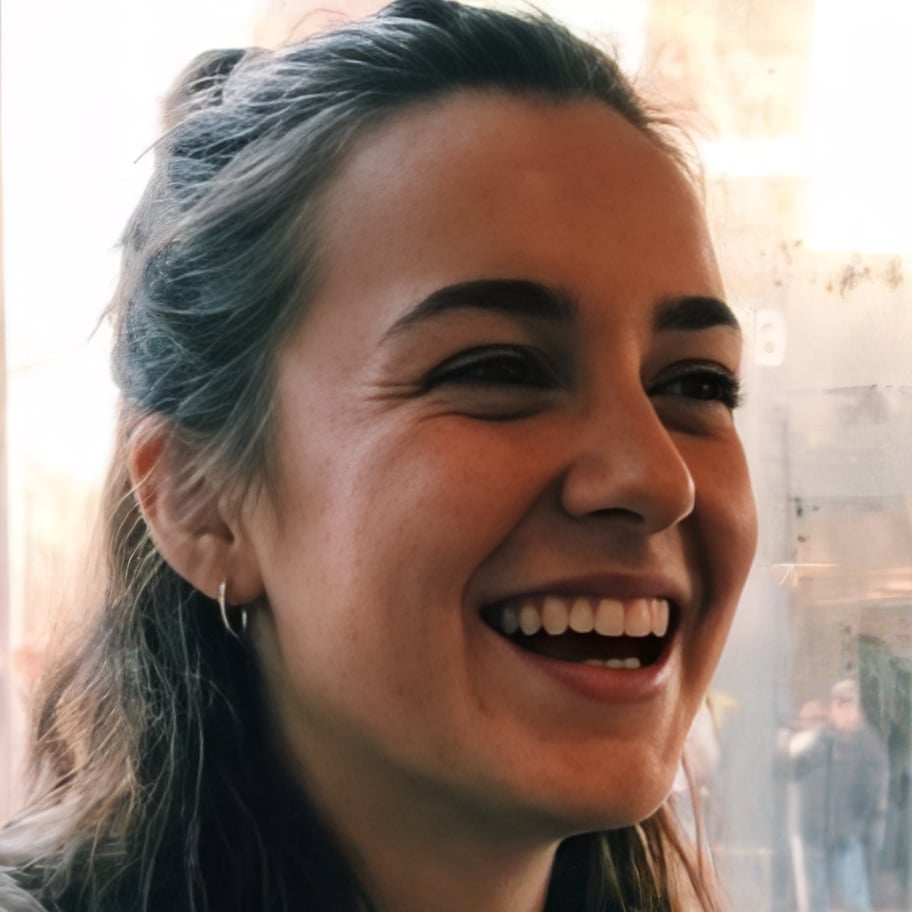
Standard · 657×880 px → 2496×3344 px · crop at 100%
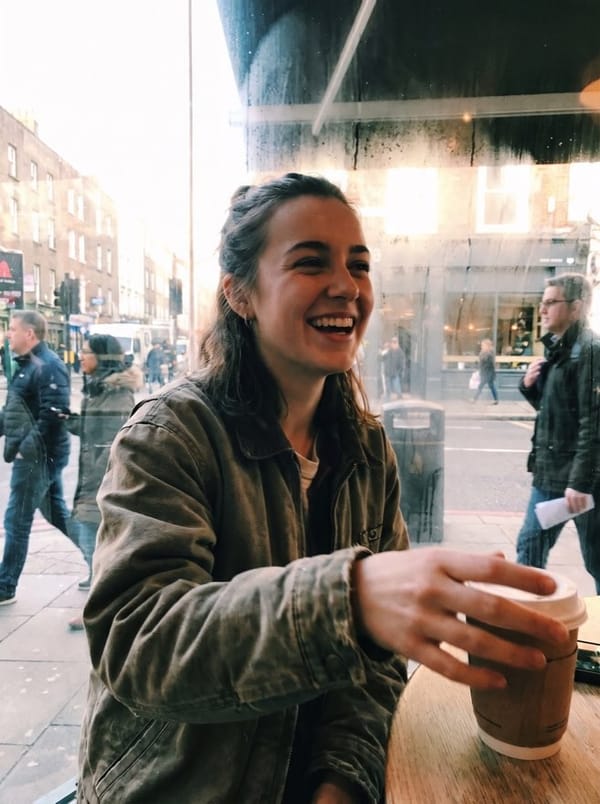
A faithful 4K upscale of a low-resolution photo – no added detail, no altered faces. Standard mode keeps skin, hair, and colors exactly as they are, just at nearly four times the resolution.
No images yet
Your generated images will appear here.
No saved images yet
Tap the heart on any image to keep it here.
Bin is empty
Deleted images land here for up to 30 days before they're gone for good – guest photos only until their 7-day expiry.
An AI image upscaler increases the resolution of a picture while restoring sharpness and detail – upload an image, pick a target size, and download the result in seconds. Here are the six things people upscale most.
All examples are shown at 100% zoom – plain enlargement on the left, AI upscale on the right.
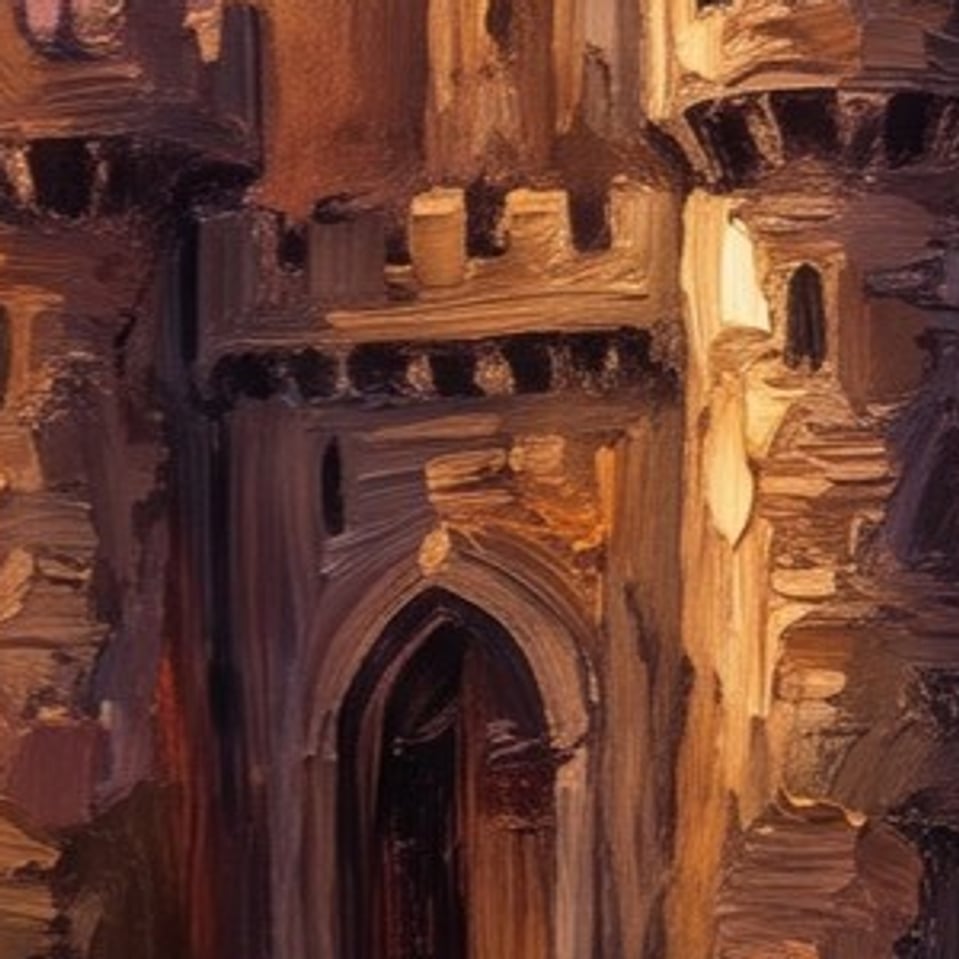
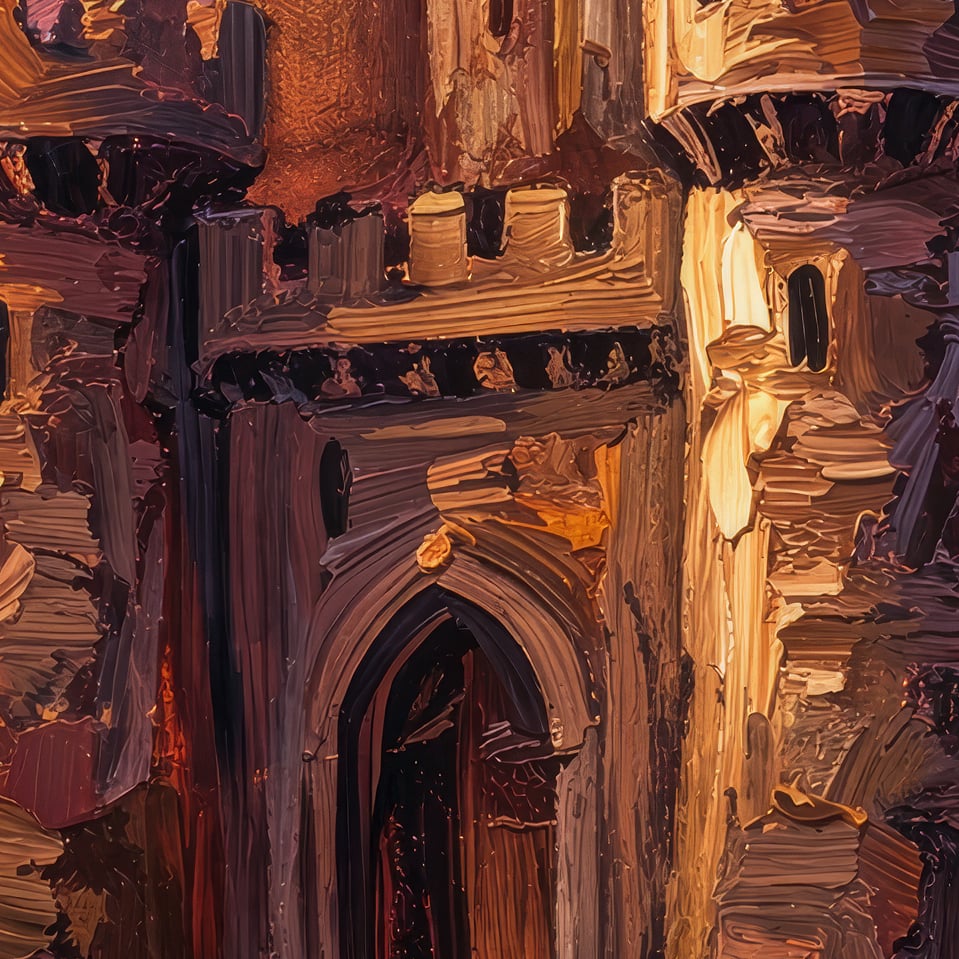
AI art for print
Before · 100%After · 100%
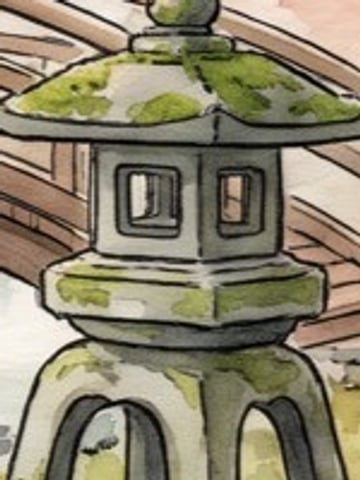
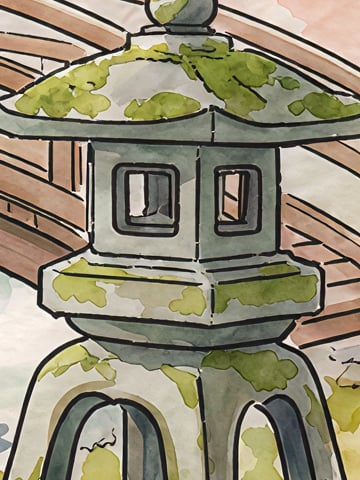
Generated images usually come out at 1–2 megapixels – too small for posters or products. Upscale AI art with Creative mode: it rebuilds brush strokes and fine texture at 4K or 8K, so wall art and print-on-demand products stay sharp at print size.
Blurry phone photos
Before · 100%After · 100%
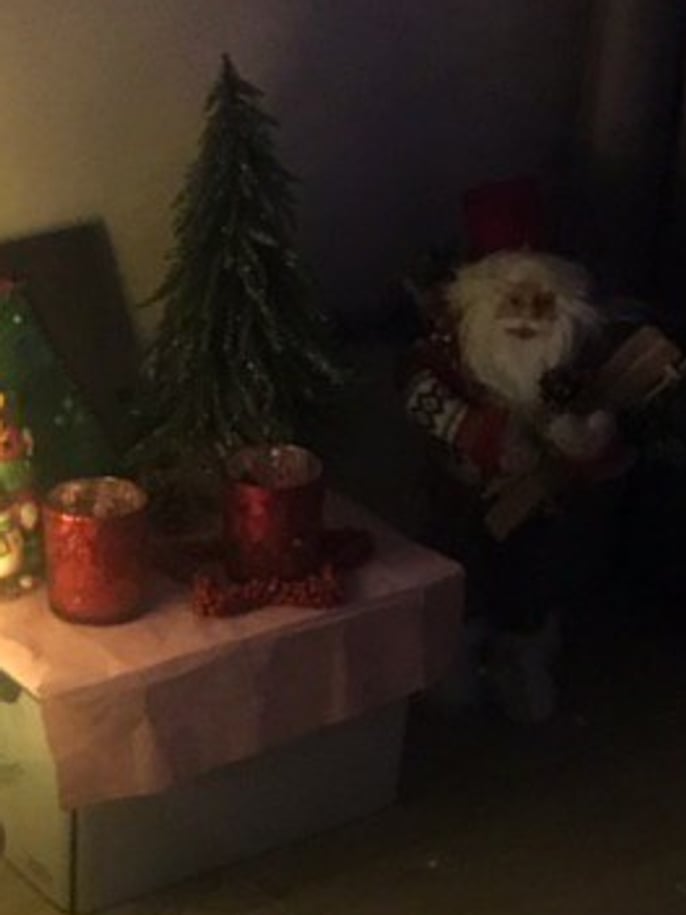
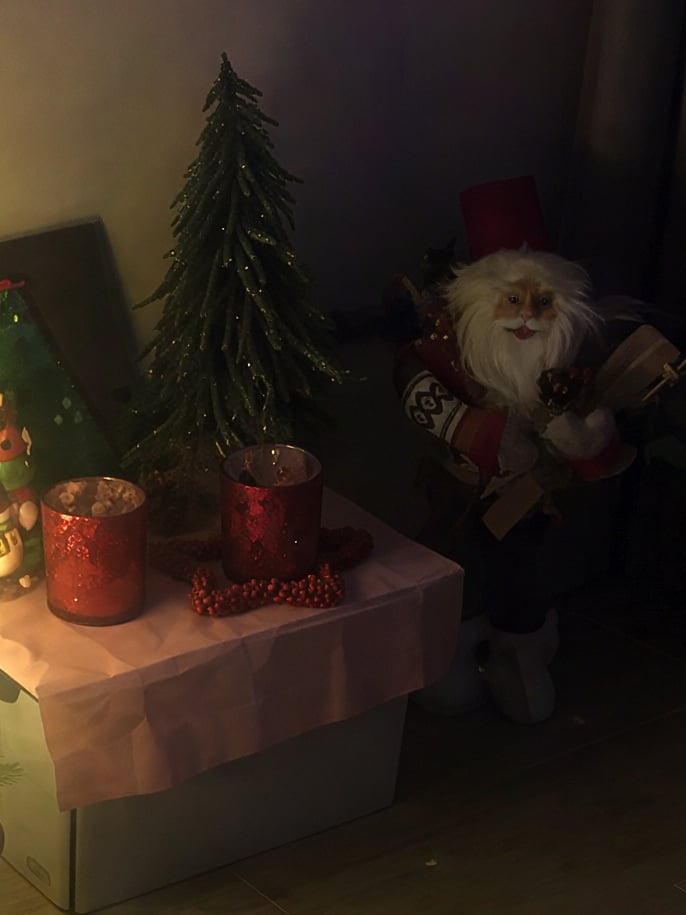
Evening phone photos come out dark, noisy, and soft – like this Christmas tree shot at 1.2 megapixels. Enhance mode cleans up noise and JPEG artifacts, sharpens the lights, ornaments, and fabric, and upscales the photo to 4K, so it looks clean on screen and prints well.
Old low-res photos
Before · 100%After · 100%
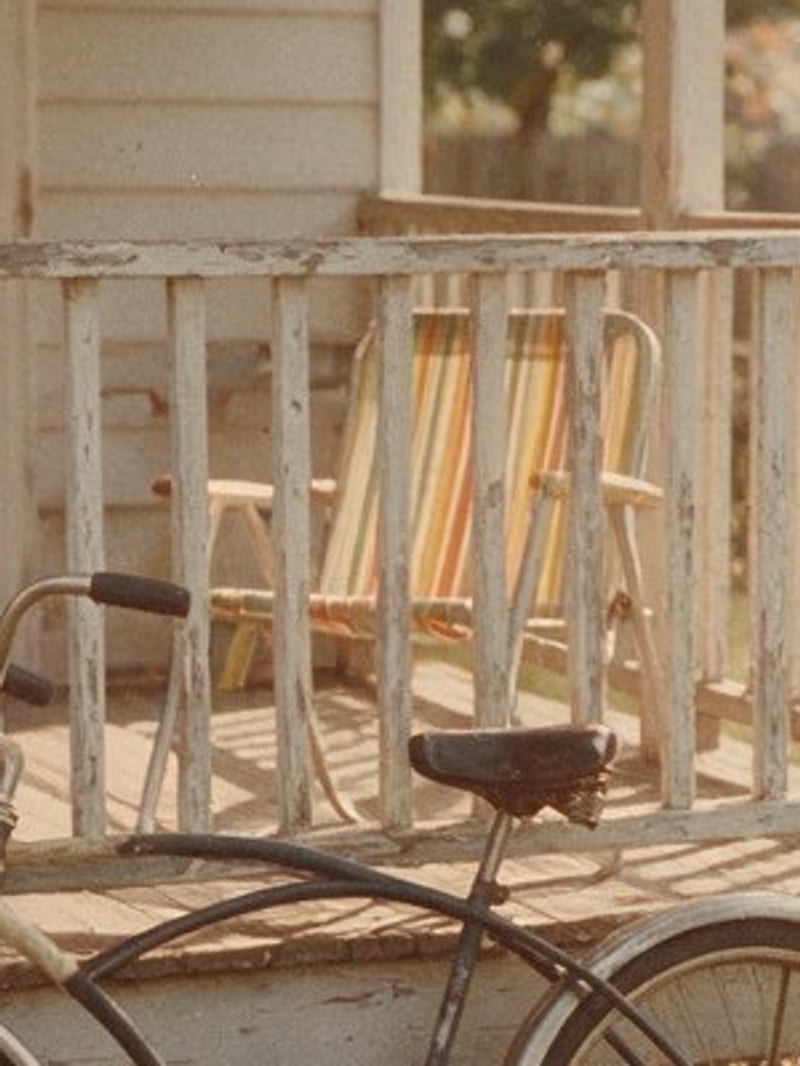
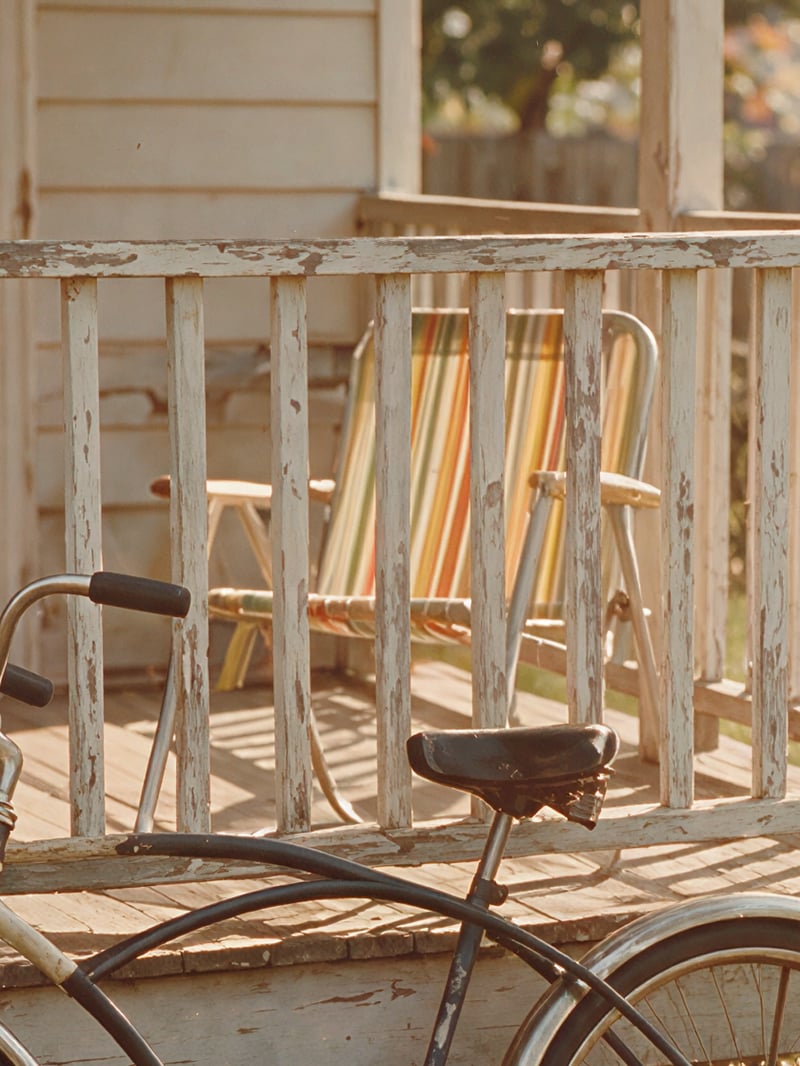
Old prints and scans are small, soft, and faded – and they don't hold up on a modern screen. Enhance mode helps restore old photos: it upscales the scan to 4K, recovers grain-buried detail in wood, fabric, and metal, and keeps the vintage colors intact.
Screenshots & text
Before · 100%After · 100%
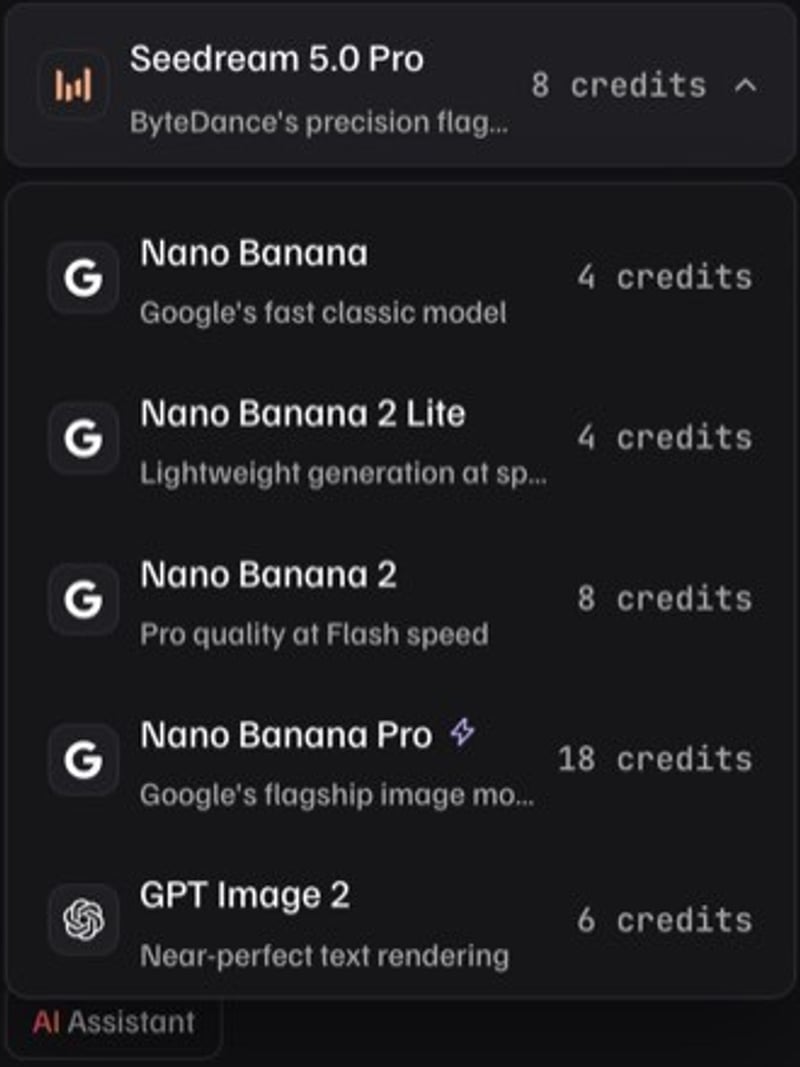
Screenshots forwarded through chats or pasted into slides come back small and soft, with text that's hard to read. Enhance mode increases image resolution to 4K while keeping letters, icons, and layout intact – sharp enough for docs, presentations, and app store listings.
Thumbnails & covers
Before · 100%After · 100%
Cover art gets cropped, zoomed, and shown on 4K screens – and a soft 1080p frame falls apart under that much scrutiny. Enhance mode upscales the image to 8K, so every detail holds up when you reframe a single shot for YouTube, TikTok, and Instagram.
Logos & transparent PNGs
Before · 100%After · 100%
Logos, stickers, and icons often exist only as small PNGs – too soft for a banner or a print. Transparent mode upscales a PNG with a transparent background to 4× its size – up to 16K – while keeping the alpha channel intact, so edges stay clean and the file drops straight into any design.
How it works
How to upscale an image with AI
Upscaling an image with AI takes three steps – no prompt to write, no settings to learn, nothing to install.
Step 1
Upload your image
Add a JPG or PNG up to 10 MB from your phone or computer. The upscaler reads its dimensions and shows which target sizes it can reach.
Step 2
Pick a mode and a target size
Choose Standard, Enhance, Creative, or Transparent, then 2K, 4K, or 8K – Transparent always goes 4×, up to 16K. Sizes your image can't reach are greyed out, and the credit cost shows on the button before you run.
Step 3
Upscale, compare, download
Results take about 20 seconds in Standard mode and up to a minute in Creative. Drag the before/after slider to check the detail, then download the PNG.
Need to change the image itself first? Open the AI photo editor and describe the edit – or create something new from a text prompt with the AI image generator.
Benefits
Why upscale images with Photolaria
Professional models, no license
Upscaling runs on Topaz Labs models – the engines behind professional upscaling software – so you get studio-grade results without buying a desktop app or a powerful GPU.
Up to 8K, up to 4×
Enlarge any image to 2K, 4K, or 8K – up to four times its width and height – with the aspect ratio kept and the result saved as a lossless PNG.
A mode for every image
Standard for clean originals, Enhance for blurry photos and screenshots, Creative for AI art, and Transparent for logos – four modes, one click each, no settings to tune.
Free to start
Bonus credits as a guest, and more with a free account – enough to try a Standard upscale to 2K or 4K, with no expiring trial and no visible watermark.
Transparent PNGs stay transparent
Logos, stickers, and cutouts keep their alpha channel, so the upscaled file drops straight into any design – no re-cutting the background.
Works in your browser
Nothing to install and no GPU needed – upscale on desktop, tablet, or phone, and the result lands in the same Library your edits and generations share.
FAQ
AI image upscaler – frequently asked questions
What is an AI image upscaler?
An AI image upscaler increases the resolution of an image while restoring sharpness and detail, instead of just stretching the existing pixels the way a normal resize does. The model predicts what edges, textures, and fine structure should look like at the larger size, so a small or soft image can be printed or shown on a 4K screen without looking blurry. Photolaria runs Topaz Labs models for this – upload an image, pick a target size and a mode, and download the result.
Is Photolaria's image upscaler free?
Yes, it's free to start. You currently get bonus credits – as a guest, and more with a free account – and a Standard upscale to 2K or 4K costs 10 credits, so you can try it with no expiring trial and no visible watermark. The upscaler runs Topaz Labs models and works from your browser with nothing to install. Every size is open to everyone and 8K targets simply cost more credits; Creative mode is available on the monthly plans.
What resolution can I upscale to?
There are three targets: 2K (about 3.7 megapixels, 2560 × 1440 px for a 16:9 image), 4K (about 8.3 megapixels, 3840 × 2160 px), and 8K (about 33 megapixels, 7680 × 4320 px) – the result keeps your image's aspect ratio, so the targets are pixel counts rather than fixed dimensions. A target has to be at least 1.5× your source's width and height (a smaller step isn't worth an upscale) and at most 4×, which means 8K takes a source between about 2 megapixels (for example 1920 × 1080 px) and 14.7 megapixels, 4K between about 0.5 and 3.7 megapixels, and 2K between about 0.23 and 1.6 megapixels. Targets your image can't reach are greyed out after upload – nothing smaller is substituted, and the button's tooltip names the largest size available. Creative 8K is one exception: it upscales to 4K first and then doubles that, so it needs only the 4K minimum. Transparent is the other: there is no target to pick – it always outputs 4× the source, up to 16K (see the transparent question below).
Which mode should I choose?
Standard enlarges the image faithfully without adding detail – pick it for good-quality originals. Enhance rebuilds sharpness and detail, so it suits small, blurry, or heavily compressed images. Creative regenerates textures and detail for the most artistic result, which suits AI art and illustration; it costs the most credits and is available on the Basic, Pro and Studio plans. Transparent is a faithful upscale that keeps the alpha channel for logos, stickers, and cutouts, and it unlocks only when you upload a PNG with transparency.
Does it work on screenshots and text?
Yes. Use Enhance for screenshots and UI text: it rebuilds letters, icons, and edges as it enlarges, so small text stays readable at 4K. In our tests Standard can break up small text, so keep it for photos and other images without fine lettering.
How do I keep a transparent background?
Choose Transparent mode and upload a PNG that actually has a transparent background – the mode unlocks only once the upload shows an alpha channel. The result is a PNG with the transparency preserved, always at 4× the source's width and height – there is no size to pick – up to 16K (about 133 megapixels, 15360 × 8640 px for a 16:9 image). A source above about 8.3 megapixels is reduced to 8.3 megapixels before upscaling, so the output tops out at 16K. Transparent is priced by the source's size, and the exact output size and cost show as soon as you upload. JPEG has no alpha channel, so a JPEG upload can't come out transparent, even if the background looks white.
How many credits does an upscale cost?
Standard costs 10 credits at 2K or 4K and 20 credits at 8K. Enhance costs 10 credits at 2K, 20 at 4K, and 40 at 8K. Creative costs 32 credits at 2K, 80 at 4K, and 112 at 8K. Transparent has no target size – it always renders 4× the source, up to 16K – and is priced by the size of the source image, because that full-size result is what the model bills: 16 credits per 1.5 megapixels of source, rounded up – a 1 MP logo costs 16 credits, a 4 MP one 48, and 96 is the maximum, since a source above 8.3 megapixels is reduced to 8.3 first. The exact figure appears as soon as you upload. Every size is open on every plan and the only limit is your credit balance, except Creative mode, which needs a monthly plan; see pricing. The Standard and Enhance costs are launch promo pricing and may increase – for subscribers, from the next renewal or after 14 days' notice – and the cost shown on the button before you run is always the one charged.
Is the image upscaler safe?
Yes. Nothing is installed on your device – the upscaler runs from your browser, and your uploads and results are private on every plan, free or paid. Photolaria doesn't use your images to train AI models, and you can delete individual images or all of your data at any time from the Bin tab. Guest uploads are deleted automatically after 7 days; with an account they stay in your private Library until you delete them.
Can I use upscaled images commercially?
Yes – you can use upscaled images commercially, with or without an account, on free and paid plans alike. Whether a specific image may lawfully be used is your responsibility: upscaling doesn't change who holds the rights to the source image, so it doesn't make a photo you don't have rights to yours. See the Terms for details.
What files can I upload?
JPG and PNG files up to 10 MB, one image per upscale. The image can be at most 12000 px on its longer side and 50 megapixels in total – larger images are refused. Free accounts run one upscale at a time, while subscribers can run several in parallel (2 on Basic, 3 on Pro, 5 on Studio). Results download as PNG whatever the source format, which is also how a Transparent result keeps its alpha channel.